Which Grease Gun Do You Need? A Practical Buyer’s Guide
Grease guns play a critical role in equipment maintenance but choosing the right type matters. Learn the differences between lever, pistol grip, and mini grease guns so you can keep your equipment running smoothly and efficiently.
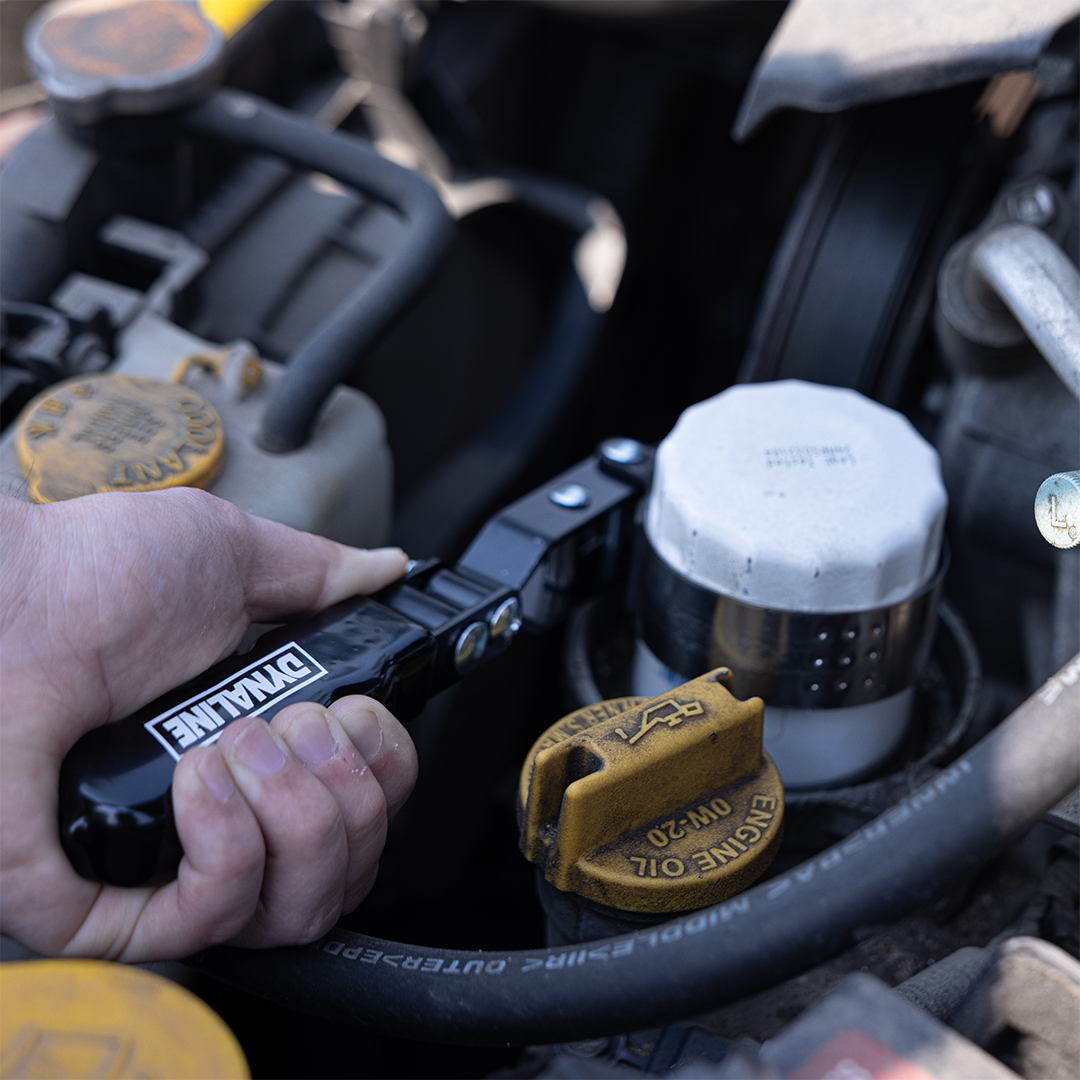
Swivel, Strap, Carbon Steel, and More: A Guide to Oil Filter Wrenches
Make oil changes easier with the right oil filter wrench. From swivel and carbon steel to nylon strap and adjustable pliers, discover the tools that save time, reduce effort, and prevent filter damage. Find the perfect wrench for every filter and workspace.
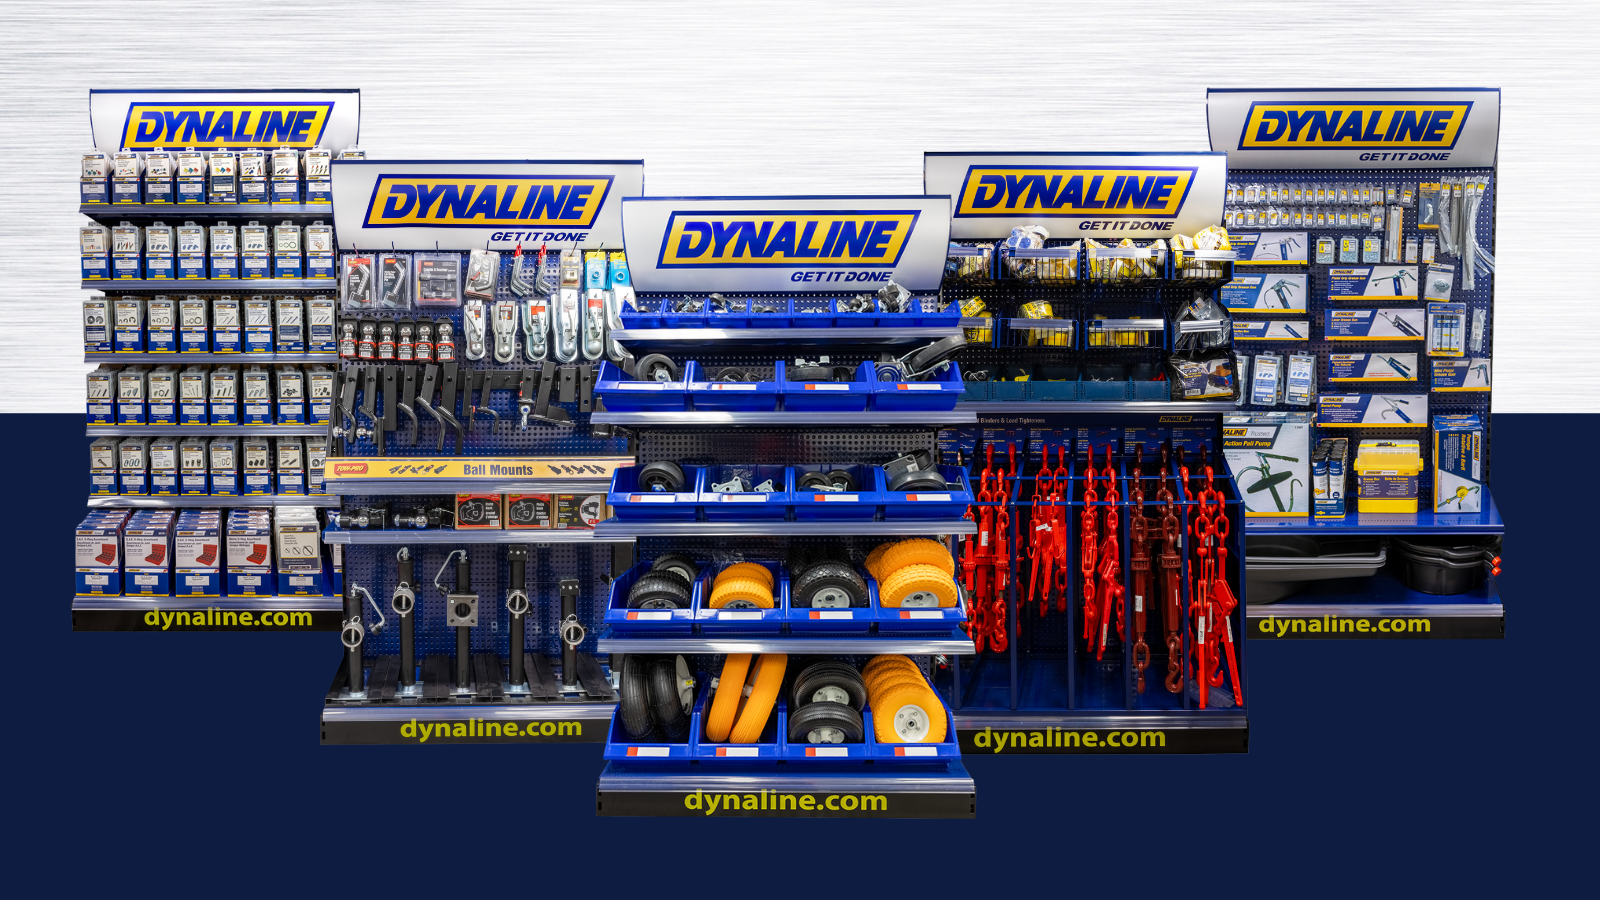
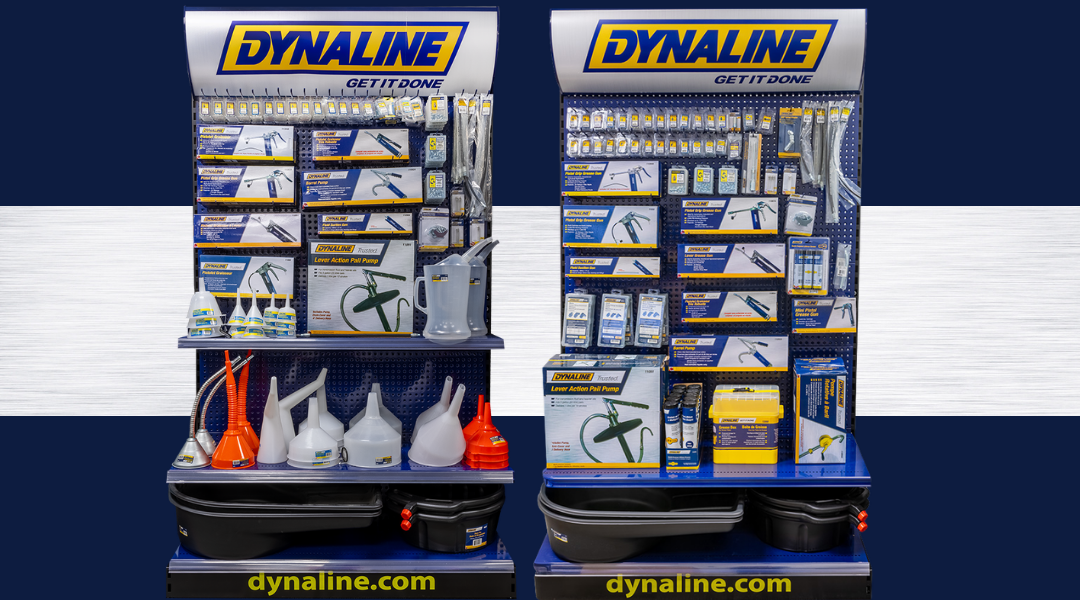
Eye-Catching Displays with Dynaline Gondolas
Discover Dynaline gondola displays built for product visibility and organization, featuring clear labels, researched product mixes, and customizable options for your store.